
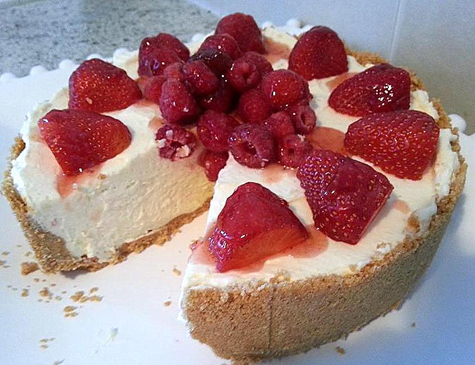
Creamy Vanilla Cheesecake
-
- Prep Time
- Minutes
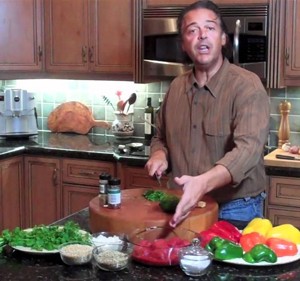
Hi food friends…I’m Nicole from Pic-Nic blog and I live in New Zealand. I’m a neuroscience PhD student with a passion for all things food. I am happiest when I am able to be in the kitchen creating new recipes. I like to base my recipes on fresh, quality ingredients and giving a healthy twist to recipes while holding on to all the delicious flavors. I like to show people that they can create a fresh, and healthy, impressive looking meal without much effort and fuss.
About the recipe itself: I created this simple no-bake creamy vanilla cheesecake recipe to give my readers a chance to find out what kind of desserts we in NZ like to enjoy in the summer time. I also wanted to show people that cheesecakes aren’t as scary as many people think, especially no-bake cheesecakes, which are simple for anyone no matter what their cooking experience/cooking confidence. I am so excited to share my creamy vanilla cheesecake with other foodies and please come click over to Pic-Nic blog, Facebook, Pinterest, Twitter, and Google+ to see more.
Ingredients
- 250 g plain vanilla biscuits
- 100 g butter, melted
- 500 g cream cheese
- 1/3 Cup caster sugar
- 3 tsp vanilla paste
- 1 cup cream, whipped
- Fresh berries (frozen and defrosted would be fine too!) - I used fresh strawberries and raspberries
- Glaze - 1/2 cup strawberry (or your preferred berry) jam melted into 2 Tbsp hot water
Instructions
- 1. 1. Line the base of a 20 cm spring-form cake tin with baking paper. Process the biscuits to a fine crumb in a food processor, add the butter and process until well combined. Press into the base and up the sides of the tin and place in the fridge while making the filling.
- Servings : 12
- Ready in : 240
- Course : Dessert
- Recipe Type : Dessert, Food Blogger & Food Friends
Instructions
- 1. 1. Line the base of a 20 cm spring-form cake tin with baking paper. Process the biscuits to a fine crumb in a food processor, add the butter and process until well combined. Press into the base and up the sides of the tin and place in the fridge while making the filling.


Rate this recipe
2 People Rated This Recipe
Average Rating
(5 / 5)